Last updated:
Planning a renting a campervan New Zealand means understanding New Zealand roads on their own terms — not comparing them to motorways back home. Distances, weather, and campervan rules all matter.
We've driven these routes repeatedly. Below is what we'd tell a friend renting a car or van: practical, blunt where it helps, and focused on a trip you can actually enjoy.
Bottom line: Use this guide for renting a campervan New Zealand — practical, realistic advice for your trip.
First Things First: Is a Campervan Right for You?
Before you dive in, let’s be honest about the pros and cons.
- Pros: Unbeatable freedom and flexibility, saves money on accommodation and restaurant meals, and allows you to wake up in some of the world’s most scenic spots.
- Cons: Driving a large vehicle can be stressful, campsites can get busy in peak season, and it’s certainly less luxurious than a hotel.
If the pros have you excited, read on!
Step 1: Choose Your Vehicle – The Most Important Decisions
This is where you’ll make the biggest choices that shape your trip.
A) Self-Contained vs. Non-Self-Contained
This is the single most important decision you will make.
- Self-Contained Certified (CSC): This is a blue sticker on your vehicle that proves it has a toilet, fresh water tank, and a wastewater (grey water) tank.
- Why it’s CRITICAL: In New Zealand, you are only legally allowed to “freedom camp” in most designated areas if your vehicle is certified self-contained. Choosing a self-contained van unlocks access to hundreds of stunning, low-cost or free campsites.
- Our Recommendation: For 99% of travellers, getting a self-contained vehicle is non-negotiable. The extra cost is easily offset by the savings and flexibility of freedom camping.
B) Vehicle Size and Type
- Sleeper Car: A converted station wagon with a mattress in the back. The most basic and cheapest option, best for solo travellers or couples on a tight budget. Cooking is done from the boot.
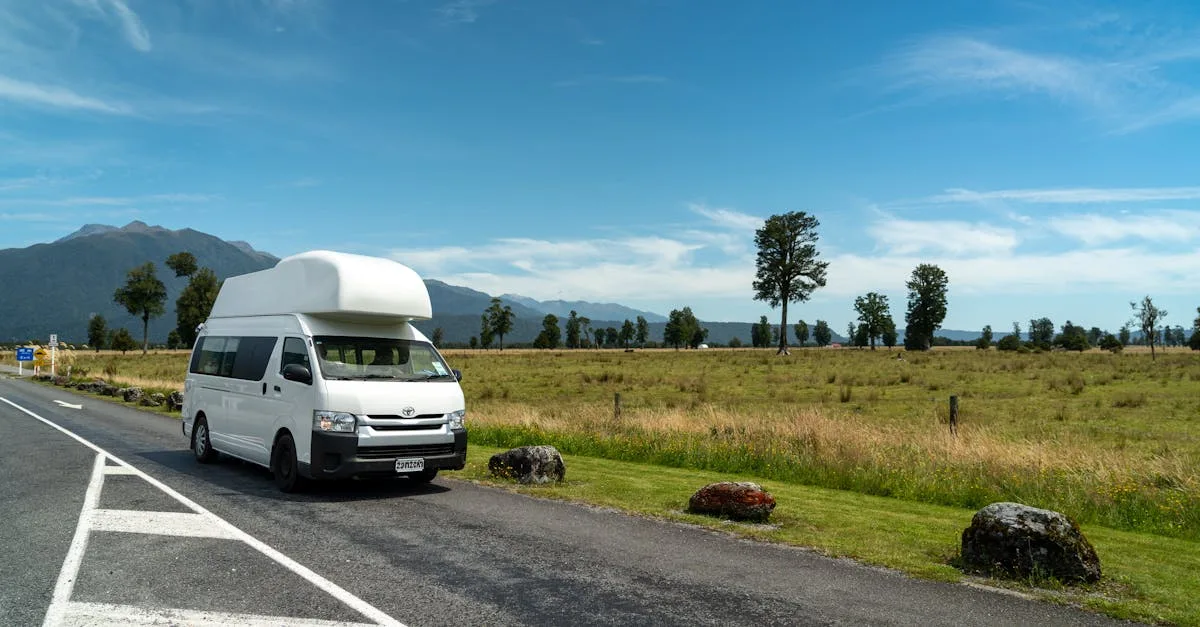
- Hi-Top Campervan (2-Berth): The classic camper. You can stand up inside, it has a small kitchenette, and the seating area converts to a bed. Perfect for couples.
- Van Conversion (2-3 Berth): Often a converted Mercedes Sprinter or Ford Transit. More space, often with an internal shower and toilet, and a more powerful engine. A great mid-range option.
- Large Motorhome (4-6 Berth): A bus-style vehicle with permanent beds, a full bathroom, and a large kitchen. Ideal for families or groups who want maximum comfort.
Step 2: Choose Your Rental Company
Companies generally fall into three tiers:
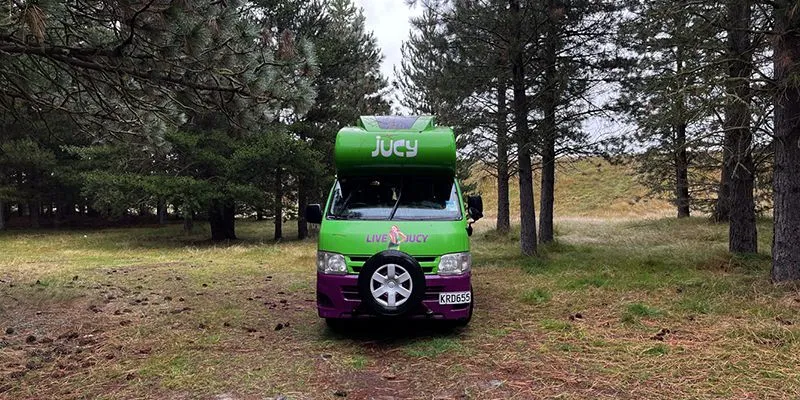
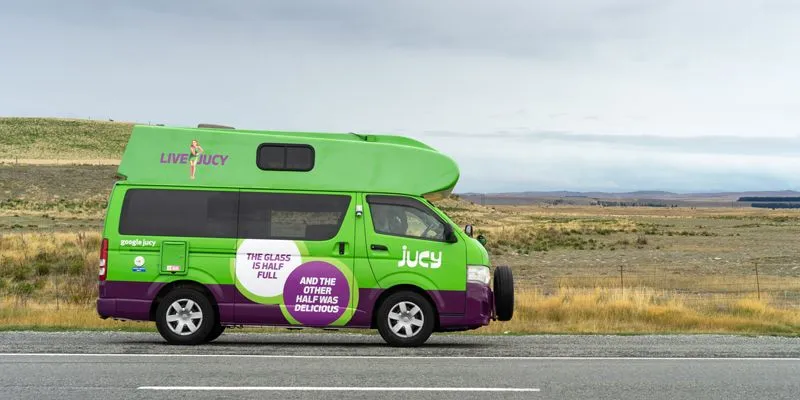
- Budget Tier (e.g., Jucy, Spaceships, Mad Campers): These companies often use older, higher-mileage vehicles. They’re reliable and fantastic value for money, but don’t expect luxury. Perfect for the backpacker or budget-conscious couple.
- Mid-Range Tier (e.g., Britz, Apollo): The workhorses of the industry. These vans are typically 2-5 years old and offer a great balance of modern features, reliability, and price.
- Premium Tier (e.g., Maui, Wilderness, Star RV): Expect newer, higher-spec vehicles (often under 2 years old) with more features like solar panels and premium interiors. This comes with a higher price tag but offers more comfort and peace of mind.
Step 3: Understand the True Cost (Beware of Hidden Fees!)
The daily rate is just the beginning. Here’s what to budget for:
- Insurance: All rentals come with basic insurance that has a very high excess (a deductible of $5,000 – $7,500 NZD is common). This means if you have an accident, you pay that amount out of pocket. We strongly recommend paying for the “all-inclusive” or “zero excess” insurance option. It costs more per day, but it gives you total peace of mind.
- Road User Charges (RUC): This is a government tax on diesel vehicles, paid per kilometre. If you rent a diesel campervan (which most larger ones are), this will be an extra charge at the end of your trip. Budget around $8 NZD per 100km.
- One-Way Fees: Picking up in Auckland and dropping off in Christchurch? Expect a one-way fee, which can be several hundred dollars.
- Add-Ons: Things like camping chairs, a BBQ, a GPS, and even linen are often extra daily charges. Factor these in.
Step 4: The Rules of the Road & Camping
- Freedom Camping: Being self-contained doesn’t mean you can park anywhere. You must obey local council rules and look for designated signs. Use apps like CamperMate and Rankers NZ – they are essential for finding legal campsites (both free and paid). Fines for illegal camping are steep.
- Driving in NZ: We drive on the left. Our roads are narrow, winding, and often hilly. Google Maps travel times are usually optimistic. Add at least 20% to any estimated drive time. Be prepared for one-lane bridges, especially on the West Coast of the South Island.
Your Final Checklist Before Booking
- Book Early: Especially for travel between December and February, campervans sell out months in advance.
- Choose Self-Contained: We can’t stress this enough.
- Get Full Insurance: Select the zero-excess option for a stress-free trip.
- Read Recent Reviews: Check Google or Rankers for recent reviews of the company you’re considering.
- Factor in the RUC: If you’re booking a diesel van, add this to your budget.
- Download the Apps: Get CamperMate and download offline maps for New Zealand before you leave.
Frequently asked questions
Is a self-drive trip the best way to see renting a campervan New Zealand?
For most regions, yes — public transport is thin outside main cities. Plan realistic drive times and rest stops.
How much should you add to Google Maps drive times?
Add at least 20–25% on scenic routes and more in mountains or after rain. Stops for photos and coffee add up quickly.
Are gravel roads allowed in rental cars?
Check your contract. Many rentals exclude unsealed roads; breaking that rule can void insurance.
Where can you find official road and travel information?
NZTA publishes road rules and updates; Drive.govt.nz covers tourist driving. DOC lists campsites and track alerts.
Related New Zealand travel guides
Need help planning your New Zealand trip?
Excursion NZ maps attractions between your start and end points, estimates realistic drive times, and helps you build a day-by-day plan without spreadsheet gymnastics.
From there you can select what attractions you want to see and we provide you with a plan including the travel time required.
Plan your New Zealand adventure
Use our interactive NZ travel map to discover attractions and plan realistic drive times along your route.
Create a travel plan