Last updated:
Interested in New Zealand landscape photography tips? New Zealand is built for outdoor days — but seasons, bookings, and gear matter more than the brochure photos suggest.
This guide covers the practical side: where to go, what to book ahead, and how to slot the activity into a road trip without burning out.
Bottom line: Use this guide for New Zealand landscape photography tips — practical, realistic advice for your trip.
📸 1. Golden Hour Is Your Best Friend
New Zealand’s landscapes come alive at sunrise and sunset. The “golden hour” — that warm, soft light an hour after sunrise and before sunset — is ideal for shooting everything from mountains to coastlines.
Tips:
- Use PhotoPills or The Photographer’s Ephemeris app to plan where the sun will rise/set
- Arrive at your spot at least 30 minutes early to set up and scout angles
- Keep shooting into blue hour for moodier, cooler-toned images
🎯 Where to try this:
- Lake Matheson (for Mt Cook reflections)
- Cathedral Cove at sunrise
- Lake Tekapo’s Church of the Good Shepherd at sunset
🌥️ 2. Don’t Fear Bad Weather
New Zealand’s weather is famously unpredictable, especially in alpine and coastal areas. But clouds, mist, and even rain can add atmosphere and drama to your shots — think misty forests, moody mountains, and ethereal fjords.

Tips:
- Pack a lens cloth and weather-sealed bag for your gear
- Use a polarizing filter to cut through glare and enhance skies
- Shoot in RAW to recover highlights and shadows in tricky light
🎯 Best in moody weather:
- Fiordland (Milford Sound and Doubtful Sound)
- West Coast beaches (like Wharariki and Gillespies)
- Foggy mornings in Glenorchy
🧭 3. Master the Rule of Thirds — Then Break It
Use the rule of thirds to guide your composition: divide your frame into a 3×3 grid and place key elements along the lines or at the intersections. This helps create balanced, visually pleasing shots.
But don’t be afraid to break the rule — center compositions, leading lines, or negative space can be incredibly effective in NZ’s vast, open landscapes.
Tips:
- Place the horizon on the upper third for land emphasis, or lower third for sky
- Use leading lines (like roads, rivers, fences) to draw the eye
- Try symmetry with lakes or reflections
🎯 Great examples:
- Roys Peak (leading ridgeline)
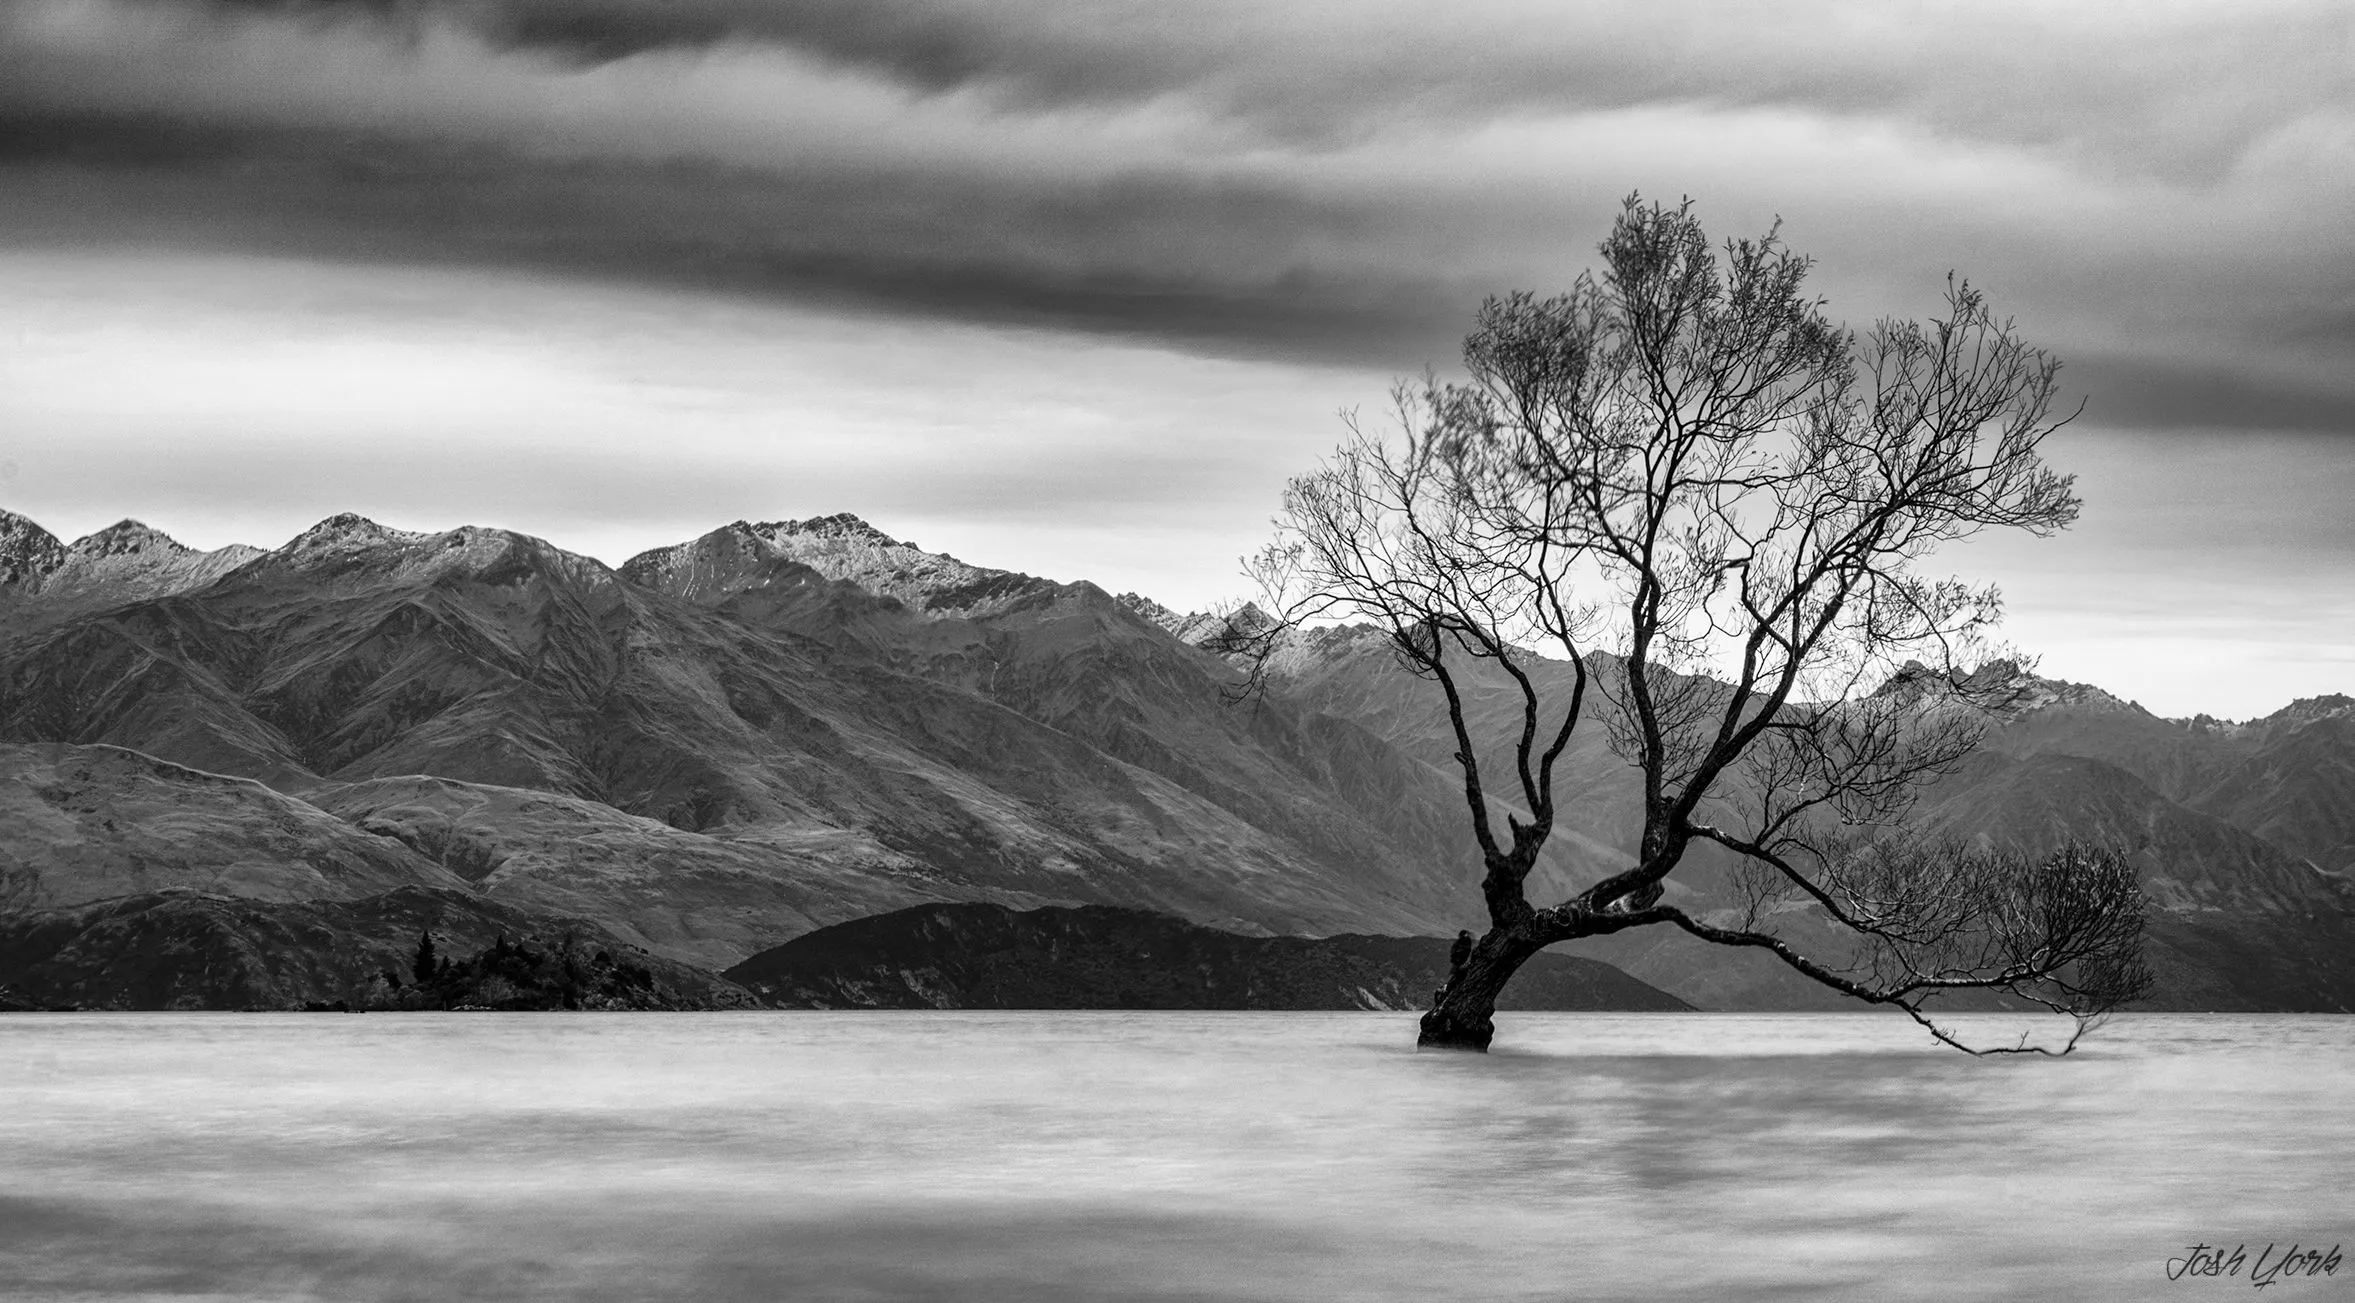
- Wanaka Tree (minimalist composition)
- Tongariro Crossing (framing the Red Crater)
📷 4. Use a Tripod for Sharpness and Long Exposures
A good lightweight tripod is essential for landscape photography, especially for shooting in low light or doing long exposures of waterfalls, rivers, and stars.
Tips:
- Use a remote shutter release or camera timer to avoid shake
- Experiment with ND filters for slow-shutter waterfall shots during the day
- For night shots, use manual focus, high ISO, and wide apertures
🎯 Where you’ll need one:
- Purakaunui Falls (long exposure)
- Moeraki Boulders at dawn
- Aoraki/Mount Cook for astrophotography
🌌 5. Try Astrophotography in Dark Sky Reserves
New Zealand has some of the clearest skies in the Southern Hemisphere, with minimal light pollution in rural areas. The Aoraki Mackenzie Dark Sky Reserve is world-renowned for stargazing and astrophotography.
Tips:
- Use a wide-angle lens (f/2.8 or faster)
- Shoot in manual mode with a shutter speed between 15–25 seconds
- Increase your ISO (start around 1600–3200) and experiment
🎯 Top stargazing spots:
- Lake Tekapo
- Castlepoint (East Coast)
- Mt John Observatory
🌈 6. Include a Foreground Subject
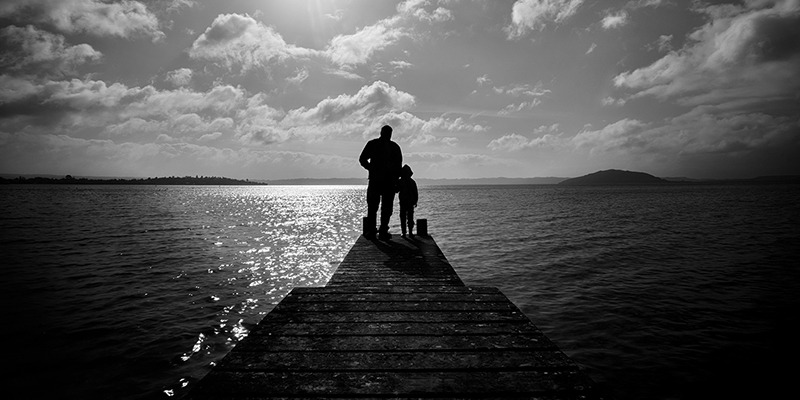
New Zealand’s wide vistas can sometimes feel too vast in photos. Adding a foreground element — like a rock, fence post, person, or tussock — gives your shot depth and scale.
Tips:
- Use a wide aperture for depth of field, or close your aperture to keep foreground and background sharp
- Place your foreground off-center to create balance
- Use people or objects to show the grand scale of the landscape
🎯 Where this works beautifully:
- Hooker Valley Track (person walking toward Mt Cook)
- Nugget Point Lighthouse (foreground cliffs)
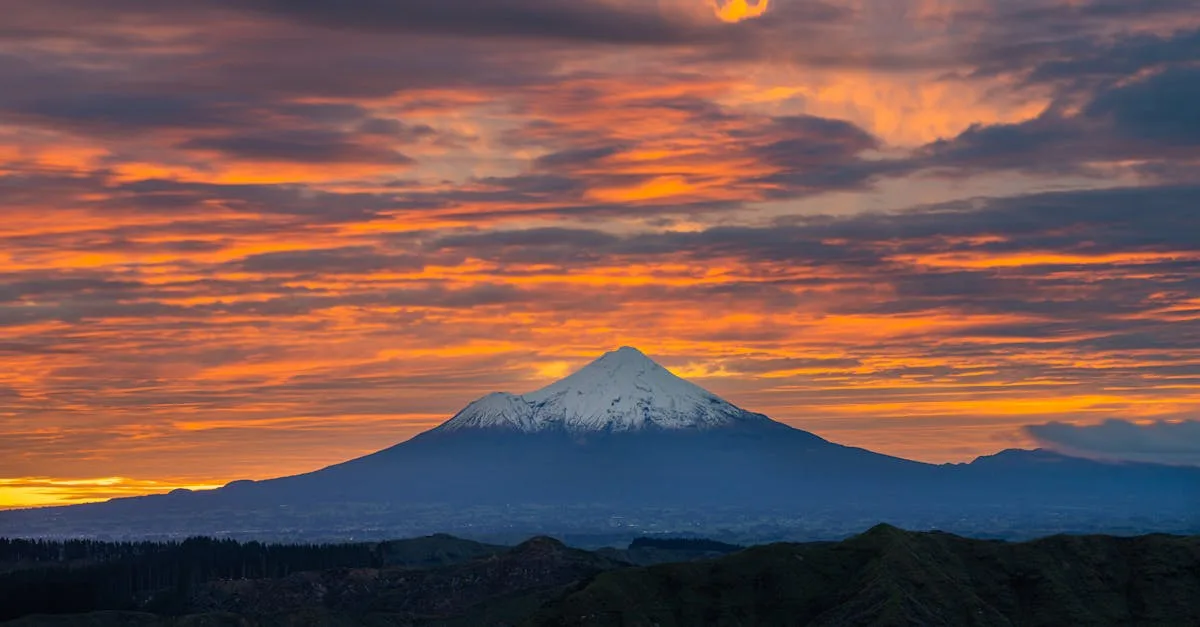
- Mount Taranaki reflections (with grass or logs in front)
🏞️ 7. Respect the Land and Be Prepared
Great photography starts with great travel ethics. Stick to trails, follow signs, and respect local iwi and conservation areas. Pack layers — New Zealand’s alpine conditions can change fast.
Tips:
- Check DOC.govt.nz for alerts and weather updates
- Bring spare batteries — the cold can drain them faster
- Always leave no trace, especially at popular photo spots like Roys Peak or That Wanaka Tree
🎯 Bonus: Learn about Māori place names and their meanings — they can inspire creative captions and a deeper connection to the land.
📍 Bonus List: Iconic Photo Spots in New Zealand
- Lake Matheson – Mirror reflections of Mt Cook
- Roys Peak, Wānaka – Iconic ridgeline sunrise shot
- Mitre Peak, Milford Sound – Best seen from the water
- Cape Reinga – Where two oceans meet
- Cathedral Cove, Coromandel – Framed archway sunrise
- Hooker Valley Track – Swing bridges and glacier views
- Te Mata Peak – Rolling hills and golden light
- The Wanaka Tree – Minimalist, moody, iconic
- Mount Taranaki – Symmetrical peak and surrounding forest
💭 Final Thoughts: Shoot the Land with Intention
New Zealand isn’t just beautiful — it’s alive with energy, history, and connection. When photographing Aotearoa, you’re not just collecting visuals — you’re telling the story of the land, the people, and the light.
Take your time. Wait for the clouds to part. Pause between clicks to soak it all in.
Because sometimes, the best photo isn’t just in your camera — it’s in your memory, too.
Frequently asked questions
When is the best season for New Zealand landscape photography tips?
Check the specific activity — ski fields need winter, hiking is best in summer and shoulder months, and water sports depend on regional wind and swell.
Do you need to book activities in advance?
Popular tours, Great Walks, and Queenstown adventures sell out in summer. Book must-dos early; leave gaps for weather changes.
What gear should you pack for outdoor activities?
Layers, rain jacket, and sturdy shoes are baseline. Sun protection is essential — NZ UV is strong even on cloudy days.
Are guided tours worth it in New Zealand?
Guides help on technical hikes, cultural experiences, and activities where local safety rules matter. Self-guided works when trails are well marked.
Related New Zealand travel guides
Need help planning your New Zealand trip?
Excursion NZ maps attractions between your start and end points, estimates realistic drive times, and helps you build a day-by-day plan without spreadsheet gymnastics.
From there you can select what attractions you want to see and we provide you with a plan including the travel time required.
Plan your New Zealand adventure
Use our interactive NZ travel map to discover attractions and plan realistic drive times along your route.
Create a travel plan