
Last updated:
Sorting out eSIM New Zealand travel? You're not alone — most visitors underestimate distances, seasons, and how much fits in a fortnight. This guide lays out what actually works on the ground.
Think of it as the advice we'd give you over a flat white before you lock in bookings: honest pacing, real place names, and links to deeper guides when you need them.
Bottom line: Use this guide for eSIM New Zealand travel — practical, realistic advice for your trip.
What is an eSIM and Why is it a Game-Changer for Travellers?
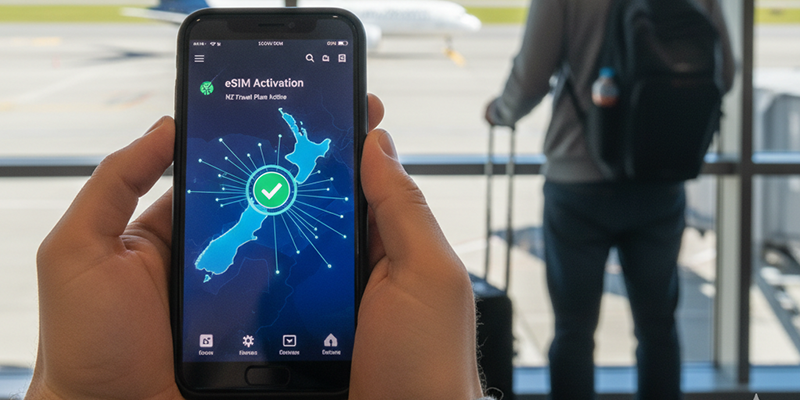
An eSIM is a digital SIM card that is already built into your smartphone. Instead of a physical card, you simply download a data plan and activate it.
For a traveller, the benefits are huge:
- Get Connected Instantly: You can buy and install your NZ data plan from your couch at home before you even leave. The moment your plane lands, you can switch it on and be online.
- Keep Your Home Number: Your physical SIM card stays in your phone, so you can still receive calls and texts from home (just be mindful of roaming charges).
- No More Airport Queues: Skip the long lines at the airport mobile phone stores and walk straight to your transport.
- Flexible Plans: Easily choose from a wide range of data plans to suit the length of your trip.
Important: Before you go any further, you need to check two things. Your phone must be unlocked (not tied to a specific carrier) and eSIM-compatible. Most modern phones like the iPhone 11 (and newer), Google Pixel 4 (and newer), and high-end Samsung Galaxy phones are compatible. A quick Google search of your model will confirm.
Your Two Main eSIM Options for New Zealand
There are two excellent paths you can take to get an eSIM for your NZ trip.

Option 1: Global eSIM Providers (The Ultimate Convenience)
These are international companies that specialise in selling short-term data plans for nearly every country in the world. They are incredibly easy to use.
- Top Providers: Airalo, Holafly, Nomad.
- Pros:
- Supremely easy to set up before your trip via their apps.
- Huge variety of plans (e.g., 3GB for 15 days, 10GB for 30 days).
- No need to interact with a local provider’s website.
- Cons:
- Usually data-only (no local NZ phone number).
- Can be slightly more expensive per gigabyte than a local SIM.
This is the “set it and forget it” option, perfect for those who prioritise convenience.
Option 2: Local NZ Mobile Providers (The Best Value)
New Zealand’s main mobile networks now offer their own prepaid eSIM plans that are perfect for tourists.
- Main Providers: One NZ (formerly Vodafone), Spark, and 2degrees.
- Pros:
- Generally the best value for money (more data for your dollar).
- Includes a local NZ phone number, which is very useful for booking tours, restaurants, or receiving local calls.
- Often includes extra perks like free data for social media apps.
- Cons:
- You usually need to wait until you arrive in New Zealand and connect to Wi-Fi (at the airport or your hotel) to purchase and activate it through their website or app.
Here’s a quick look at typical prepaid travel plans (prices and data are illustrative for late 2025):
| Provider | Price (NZD) | Data | Calls/Texts to NZ | Duration |
| One NZ | $29 | 10 GB | 200 mins / 200 texts | 30 days |
| Spark | $30 | 8 GB (+1GB for social) | 200 mins / 100 texts | 28 days |
| 2degrees | $25 | 6 GB | 150 mins / 150 texts | 30 days |
Export to Sheets
Step-by-Step: How to Get Your eSIM
For a Global Provider like Airalo (Before You Leave Home):
- Check Phone Compatibility: Confirm your phone is unlocked and eSIM-capable.
- Download the App: Get the Airalo (or your chosen provider’s) app on your phone.
- Purchase Your Plan: Select “New Zealand,” choose a data package that suits your trip length, and pay.
- Install the eSIM: Follow the simple on-screen instructions. This usually involves scanning a QR code. Do this on a Wi-Fi connection.
- Activate on Arrival: When you land in New Zealand, go to your phone’s cellular settings, turn on your eSIM, and enable data roaming for it. You’ll be connected in seconds.
For a Local NZ Provider (After You Arrive):
- Connect to Wi-Fi: Use the free Wi-Fi at Auckland, Christchurch, or Queenstown airport.
- Visit the Website: Go to the prepaid section of your chosen provider’s website (e.g., one.nz, spark.co.nz).
- Purchase a Plan: Find their “Travel SIM” or prepaid eSIM options and purchase one online.
- Install the eSIM: They will email you a QR code. Scan it to install the eSIM on your phone.
- Activate: Follow the final steps to activate your plan.
The Verdict: Which eSIM Should You Choose?
The answer depends on what you value most.
- Choose a Global Provider (like Airalo) if you prioritise maximum convenience and want everything sorted before you fly. It’s the most hassle-free option.
- Choose a Local NZ Provider (like One NZ or Spark) if you want the best value for money and the benefit of a local phone number. The extra 5 minutes of setup at the airport is well worth the savings.
Frequently asked questions
How many days do you need for eSIM New Zealand travel?
Most first-time visitors need at least 10–14 days for one island at a comfortable pace. Shorter trips work if you focus on one region, not the whole country.
What is the best month to visit New Zealand?
December–February is peak summer; March–May and September–November are shoulder seasons with fewer crowds. Winter suits skiing and hot pools.
Should you book accommodation in advance?
Yes for summer, Queenstown, and popular tracks. Shoulder season is more flexible, but rental cars and campervans still book out.
Is a campervan worth it for New Zealand?
Campervans suit travellers who want flexibility and are happy driving daily. Compare cost with car plus motels — and read freedom camping rules first.
Do you need a visa to visit New Zealand?
Many visitors need an NZeTA or visa depending on nationality. Check Immigration New Zealand before you book flights.
Official sources: Immigration NZ visitor visas and NZeTA, Tourism New Zealand trip planning, MetService weather forecasts.
Related New Zealand travel guides
- New Zealand travel tips FAQ
- 7, 14, and 21-day itinerary plans
- North Island vs South Island
- Why not both islands in 2 weeks
- Best time to visit by season
Need help planning your New Zealand trip?
Excursion NZ maps attractions between your start and end points, estimates realistic drive times, and helps you build a day-by-day plan without spreadsheet gymnastics.
From there you can select what attractions you want to see and we provide you with a plan including the travel time required.
Plan your New Zealand adventure
Use our interactive NZ travel map to discover attractions and plan realistic drive times along your route.
Create a travel plan